HOW TO INSTALL PIONEER LOG SIDING

Five Steps,
Any Flat Surface

Pioneer Log Siding installs on most any flat surface — as long as you can find the studs. Here’s how the pros do it, and how a capable DIYer can too.

Choose Your Cabin Style

Before you start, pick a look. Two classic frontier styles — and the install details flex to either.

CABIN STYLE — OPTION ONE

Upscale Frontier Cabin Retreat

Back in the pioneer days, city dwellers built more refined cabins. Logs were typically a uniform 12" wide, with clean chinking spaces of 2.5–4 inches.

Mix Pioneer Log Siding with wood shingles, board-and-batten, and river rock for a polished, lodge-style look.

CABIN STYLE — OPTION TWO

Pioneer Woodsy Cabin

Woodsmen outside town built with what they had — mixed log sizes, varied chinking, and whatever trees came easy before winter.

The result reads as a working cabin with a hundred years of stories. Stagger widths and gaps freely — imperfection is the point.

The Five-Step Install

Each step is straightforward. Work top to bottom on this list, bottom to top on the wall.

1

House Wrap

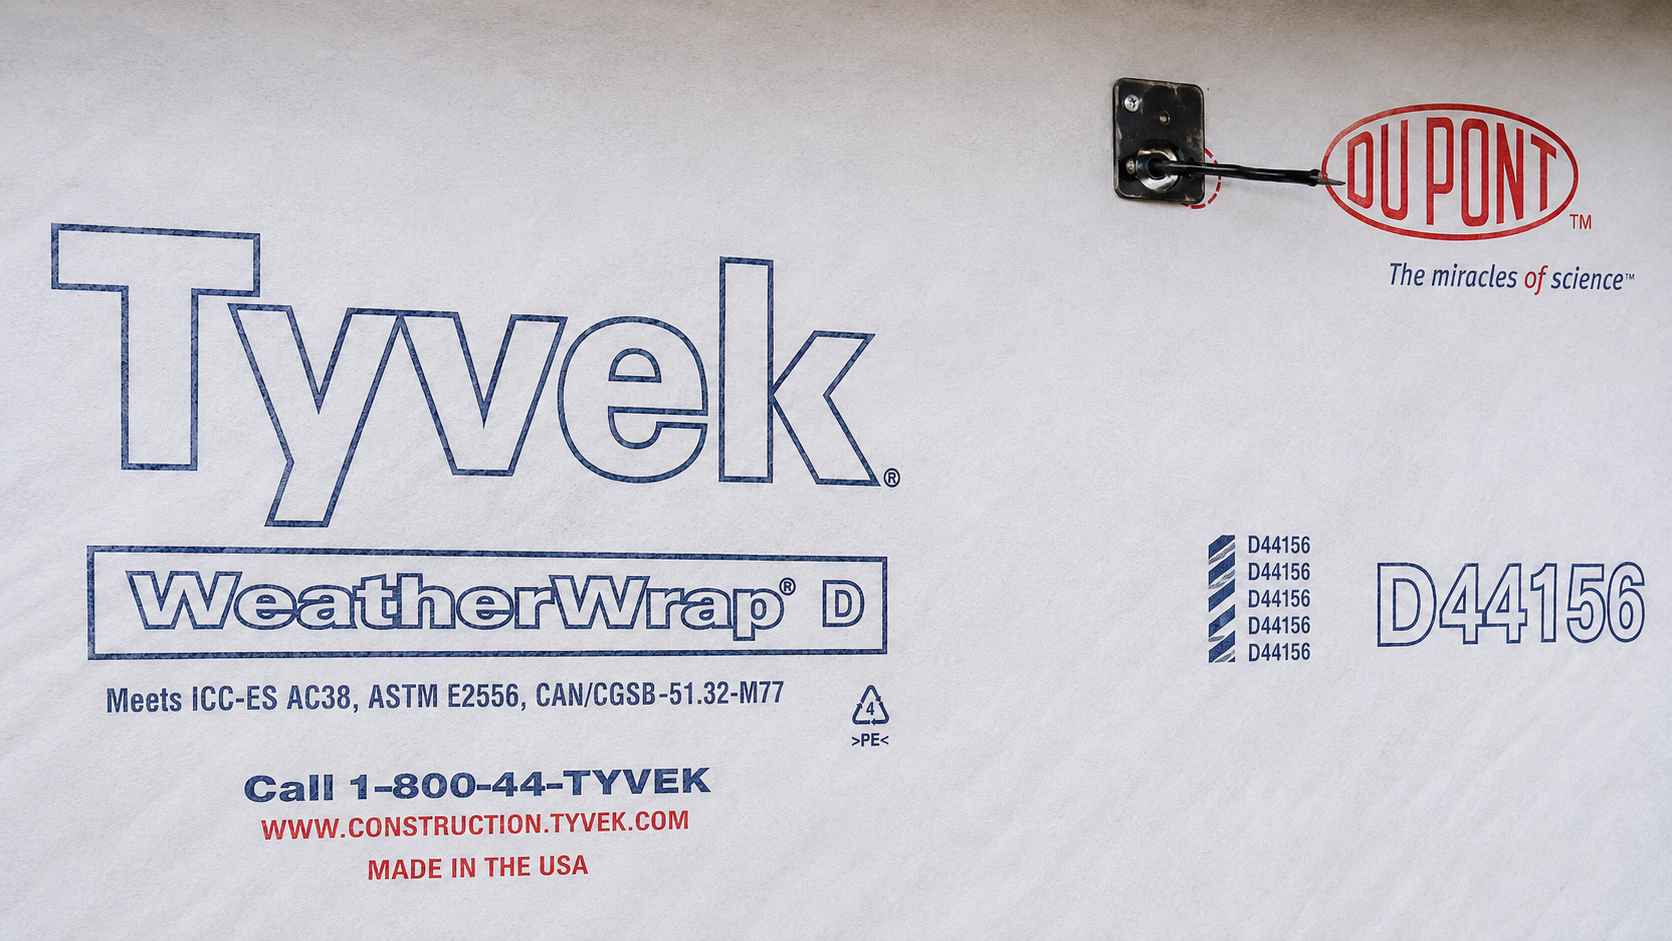
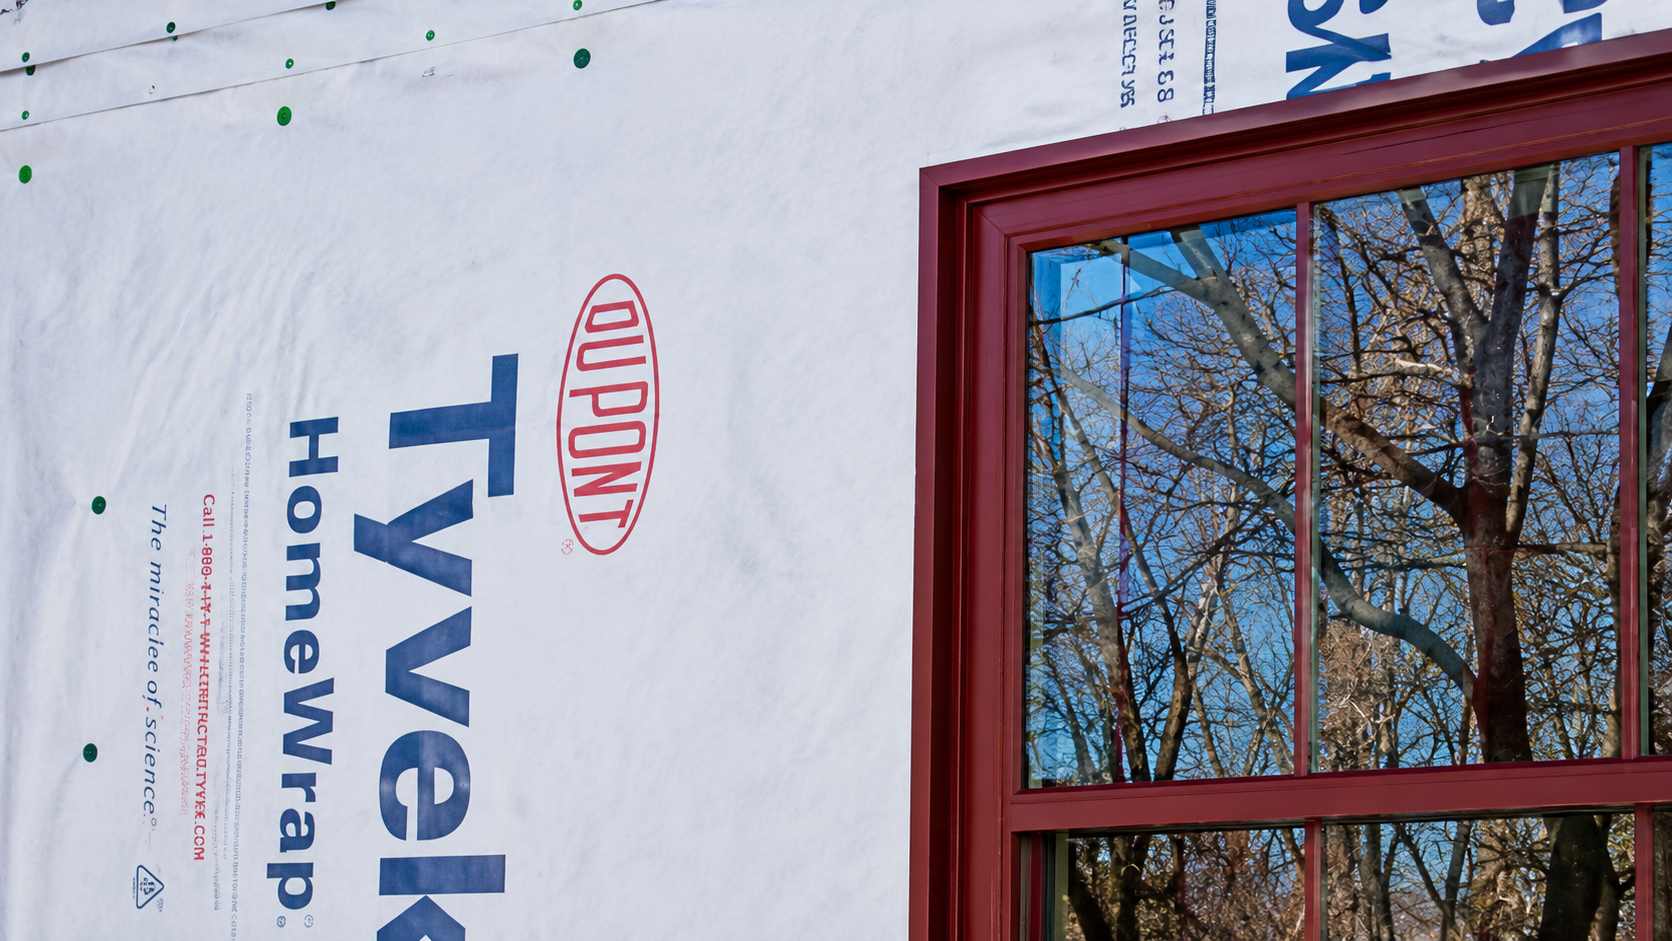
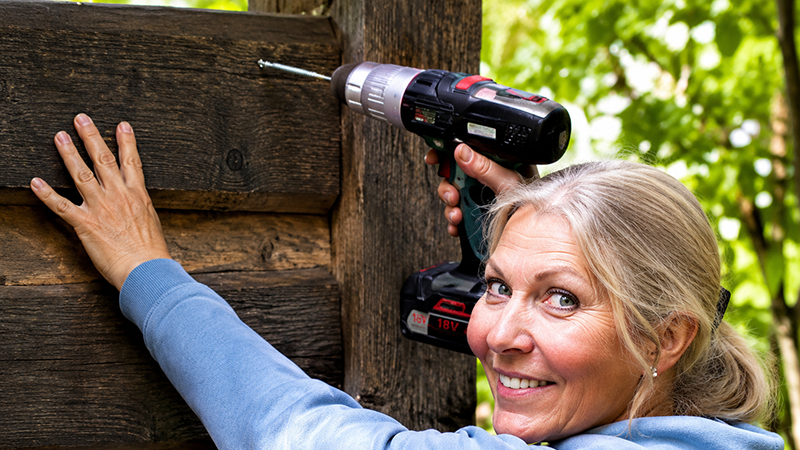
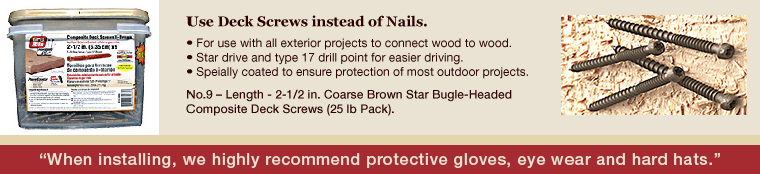
Make sure the home is well protected with a moisture wrap such as Tyvek. When installing corners, trim, or siding, we recommend screw guns with mini-head deck screws (any Home Depot has them). They hold better than nails, and the tiny holes blend in like wormholes in the finished wall.
House wrap install
Trim and corners installed first
2

Trim & Corners First

Install your house corners and door/window trim before the siding. That way the siding can butt cleanly up against them. Use transparent or matching caulk around every joint. For interior corners, rip your own 2″×2″ vertical boards.
3

Siding Installation

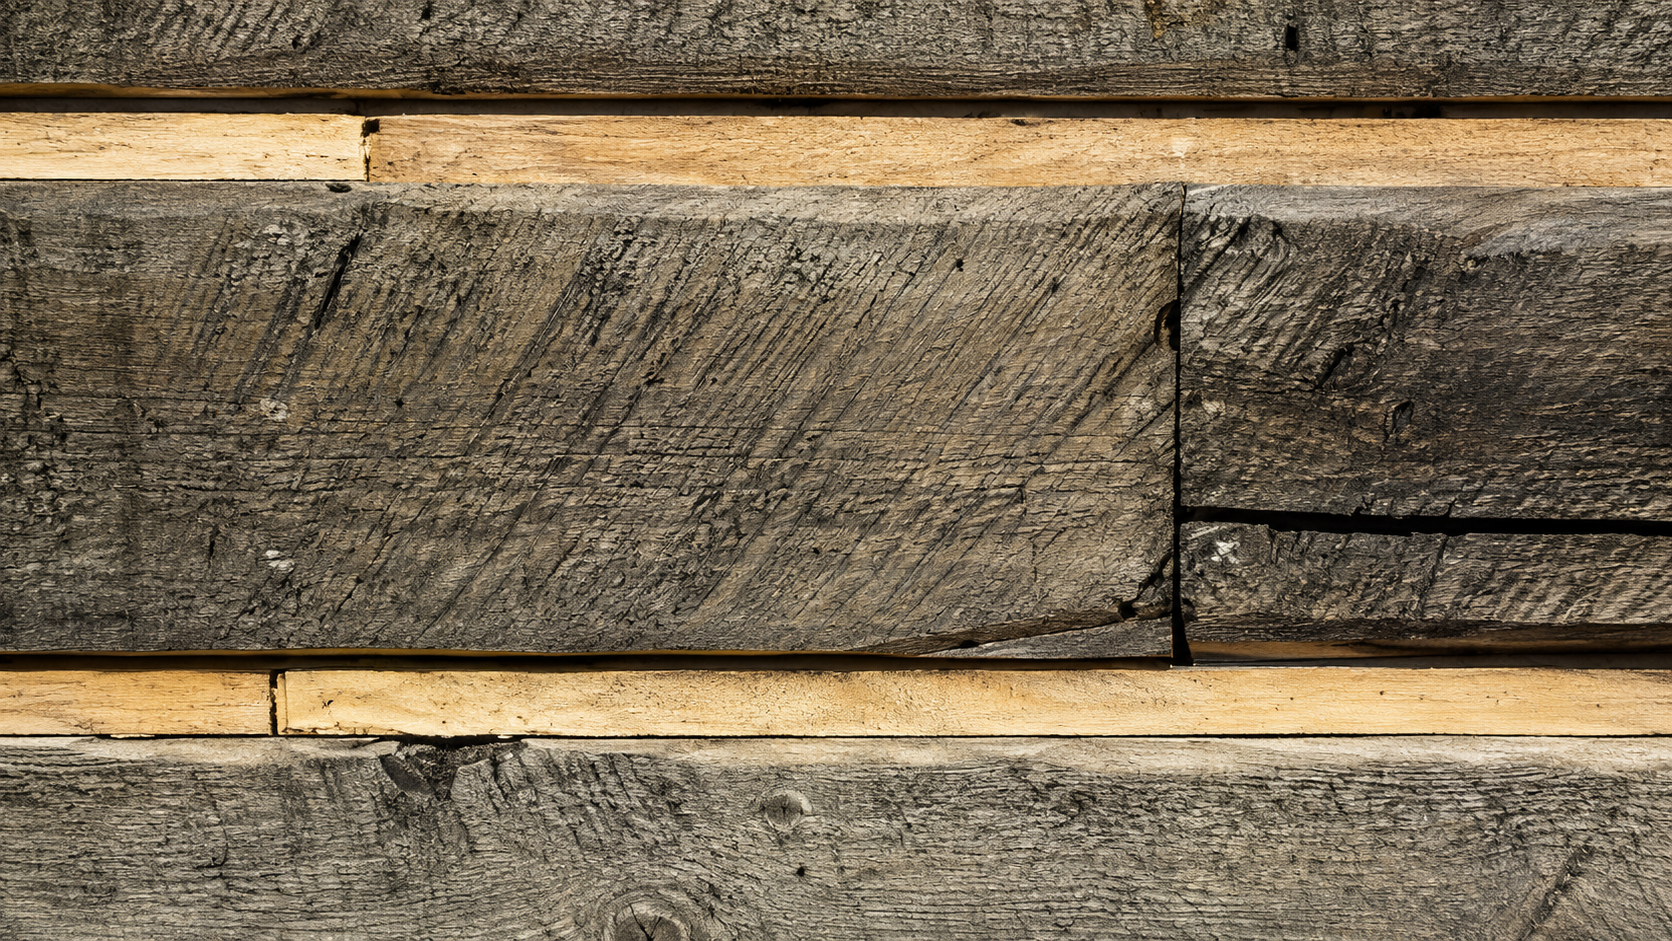
Start at the bottom and work your way up. Decide on your chinking-gap width, and feel free to stagger your siding cuts as you wish — pioneer cabins were never perfect, and yours doesn’t need to be either. The last piece should be milled to fit snug against the soffit.
Siding installation in progress
Spacer strips
4

Spacer Strips

Spacer strips save chinking material. Use 1/2-inch particleboard in 8-foot lengths, cut to whatever chinking gap you chose. They also support the next siding run above. Important: apply standard packing tape over the strips before chinking — chinking should only stick to the top and bottom of the siding boards, not the strips. Strips go on the house before the tape.
5

Chinking Material

We suggest Perma-Chink — flexible, strong, and available in several sandy tones. Contact kathy@permachink.com or call 425-952-2016 and ask for Kathy. She’s helped many Pioneer customers and can send a free chinking information kit with samples.

One warning: if you go with white chinking, it will upstage your siding and read like stripes from a distance. Pick a sandy tone and let the boards do the talking.
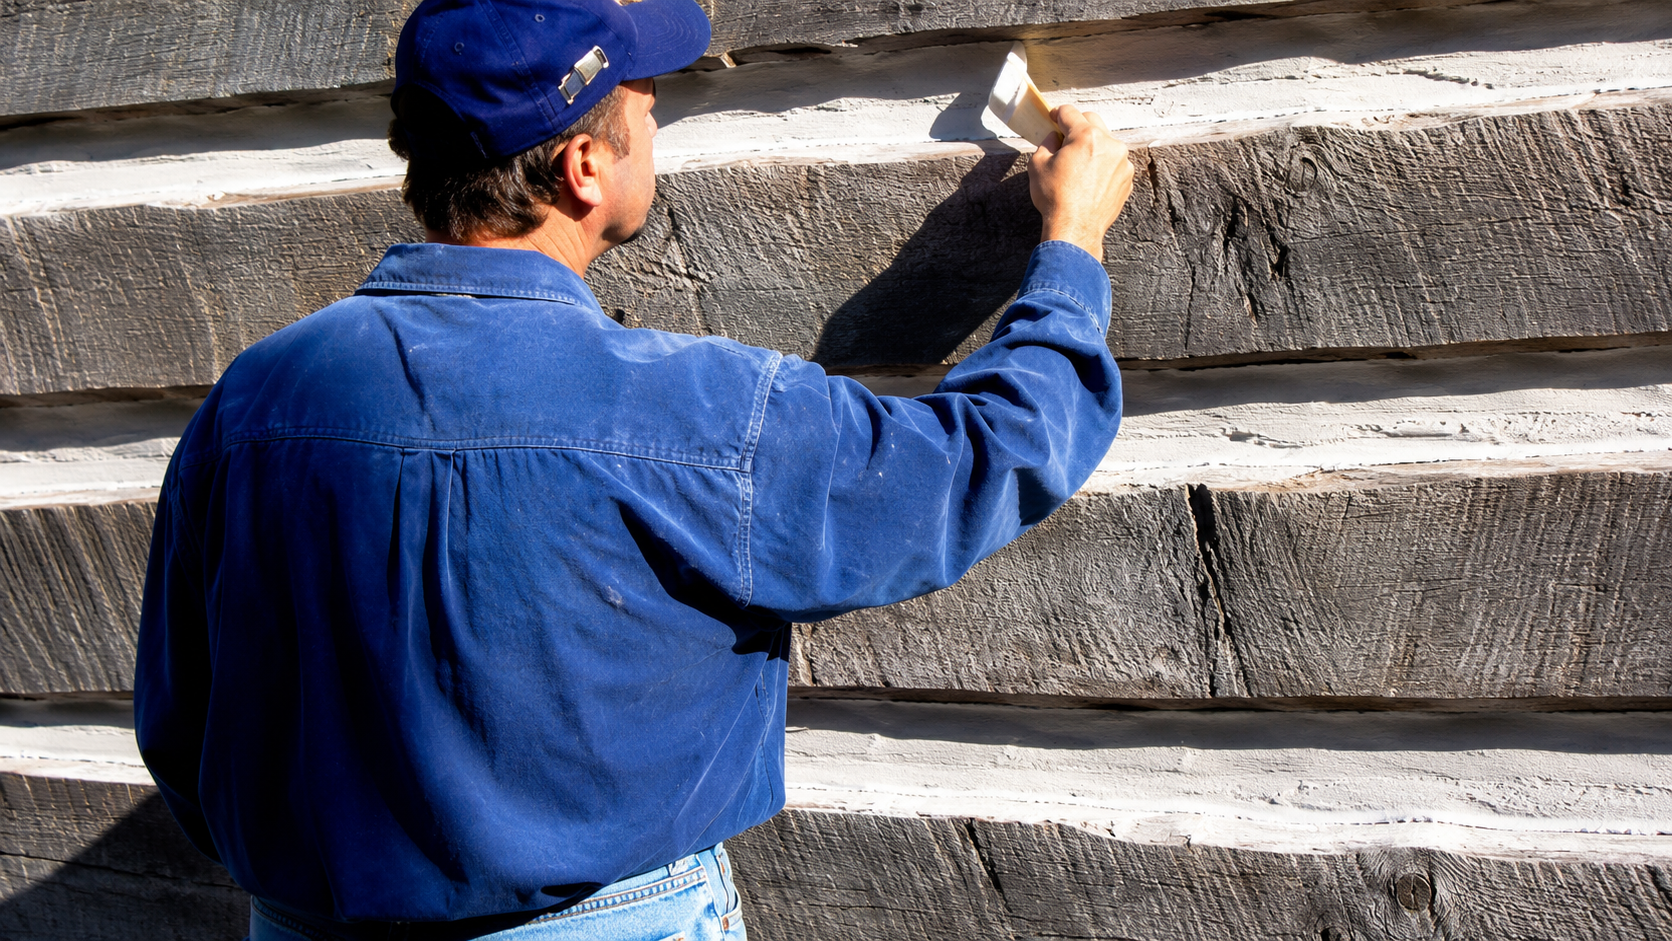
Chinking the siding
RECOMMENDED HARDWARE

Mini-Head Deck Screws

Available at any Home Depot. They hold the boards more securely than a nail gun and leave behind tiny holes that read like natural wormholes in the finished wall.

NEED CHINKING?

Perma-Chink — Ask for Kathy

Email kathy@permachink.com or call 425-952-2016. Request the free information kit with sandy-tone samples — she's helped Pioneer customers for years.

QUESTIONS DURING INSTALL?

We’re One Phone Call Away

If you hit a question on the job site, give us a call. We’ve answered nearly every install question there is — and we’d rather you get it right than guess.